Knowledge base
How to Test Used Professional Loudspeakers Before Export
A practical inspection and testing procedure for verifying used professional loudspeakers, documenting condition, and reducing export disputes.
Start with identification and a visual inspection
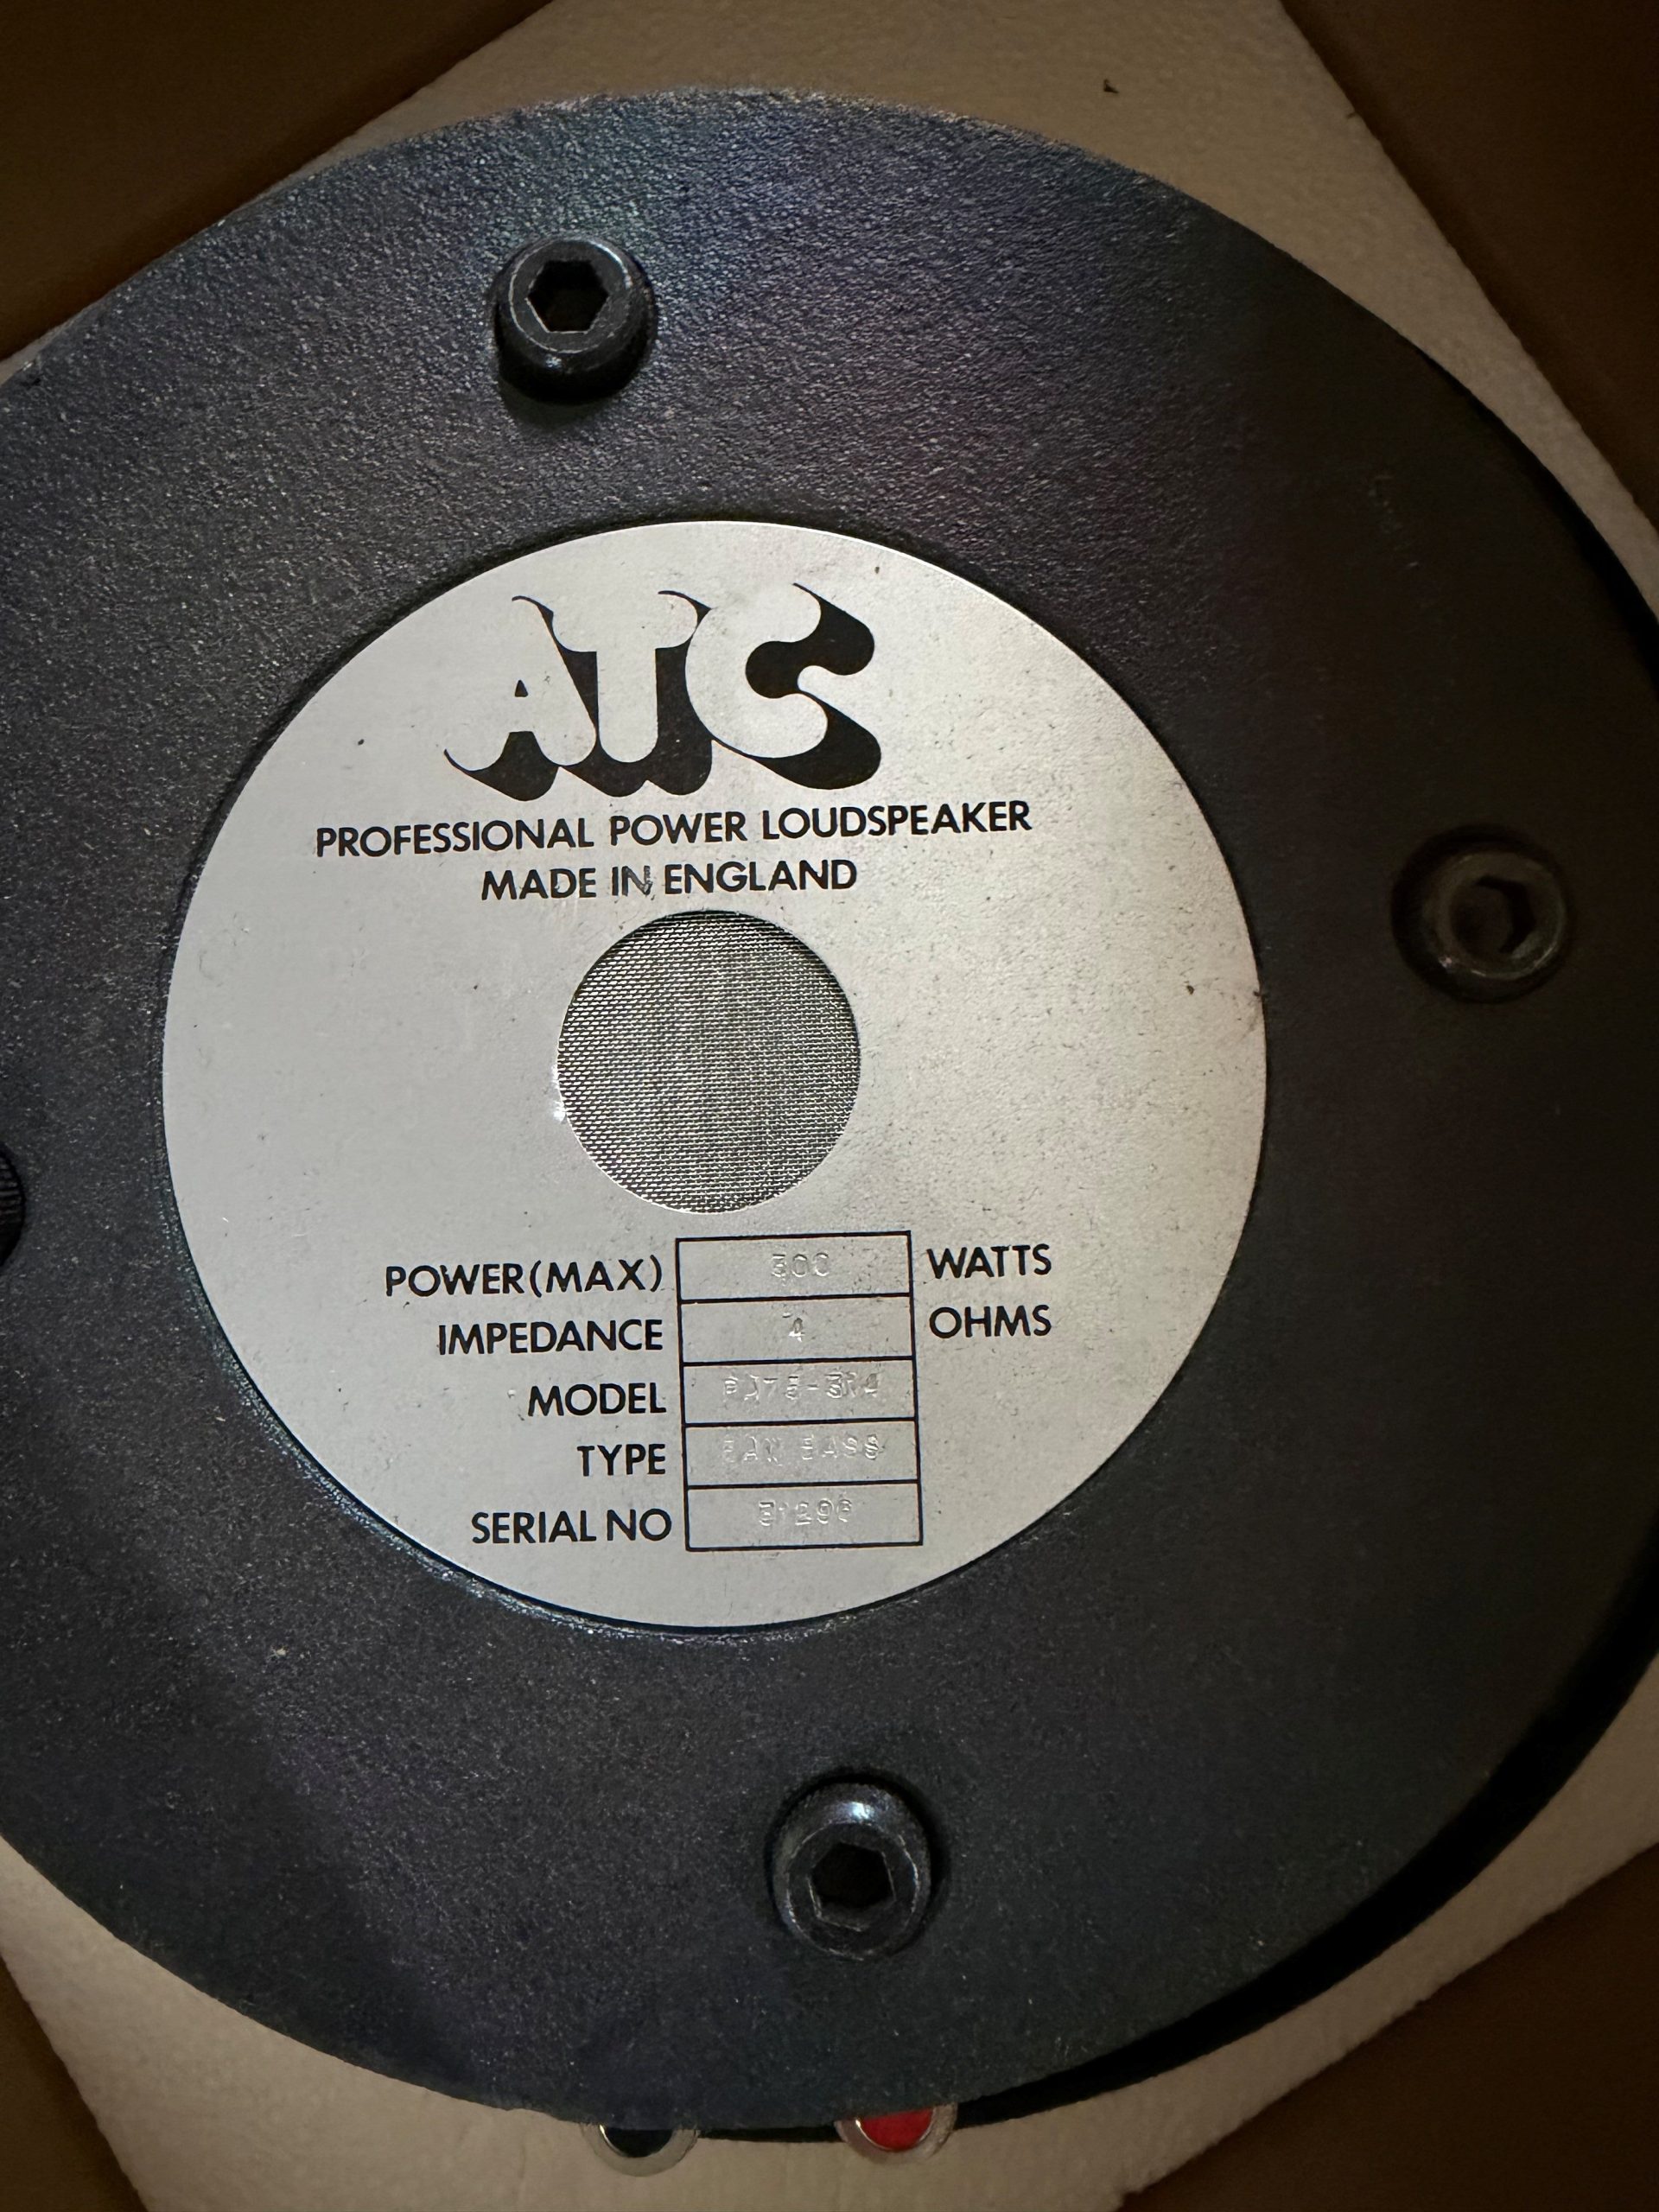
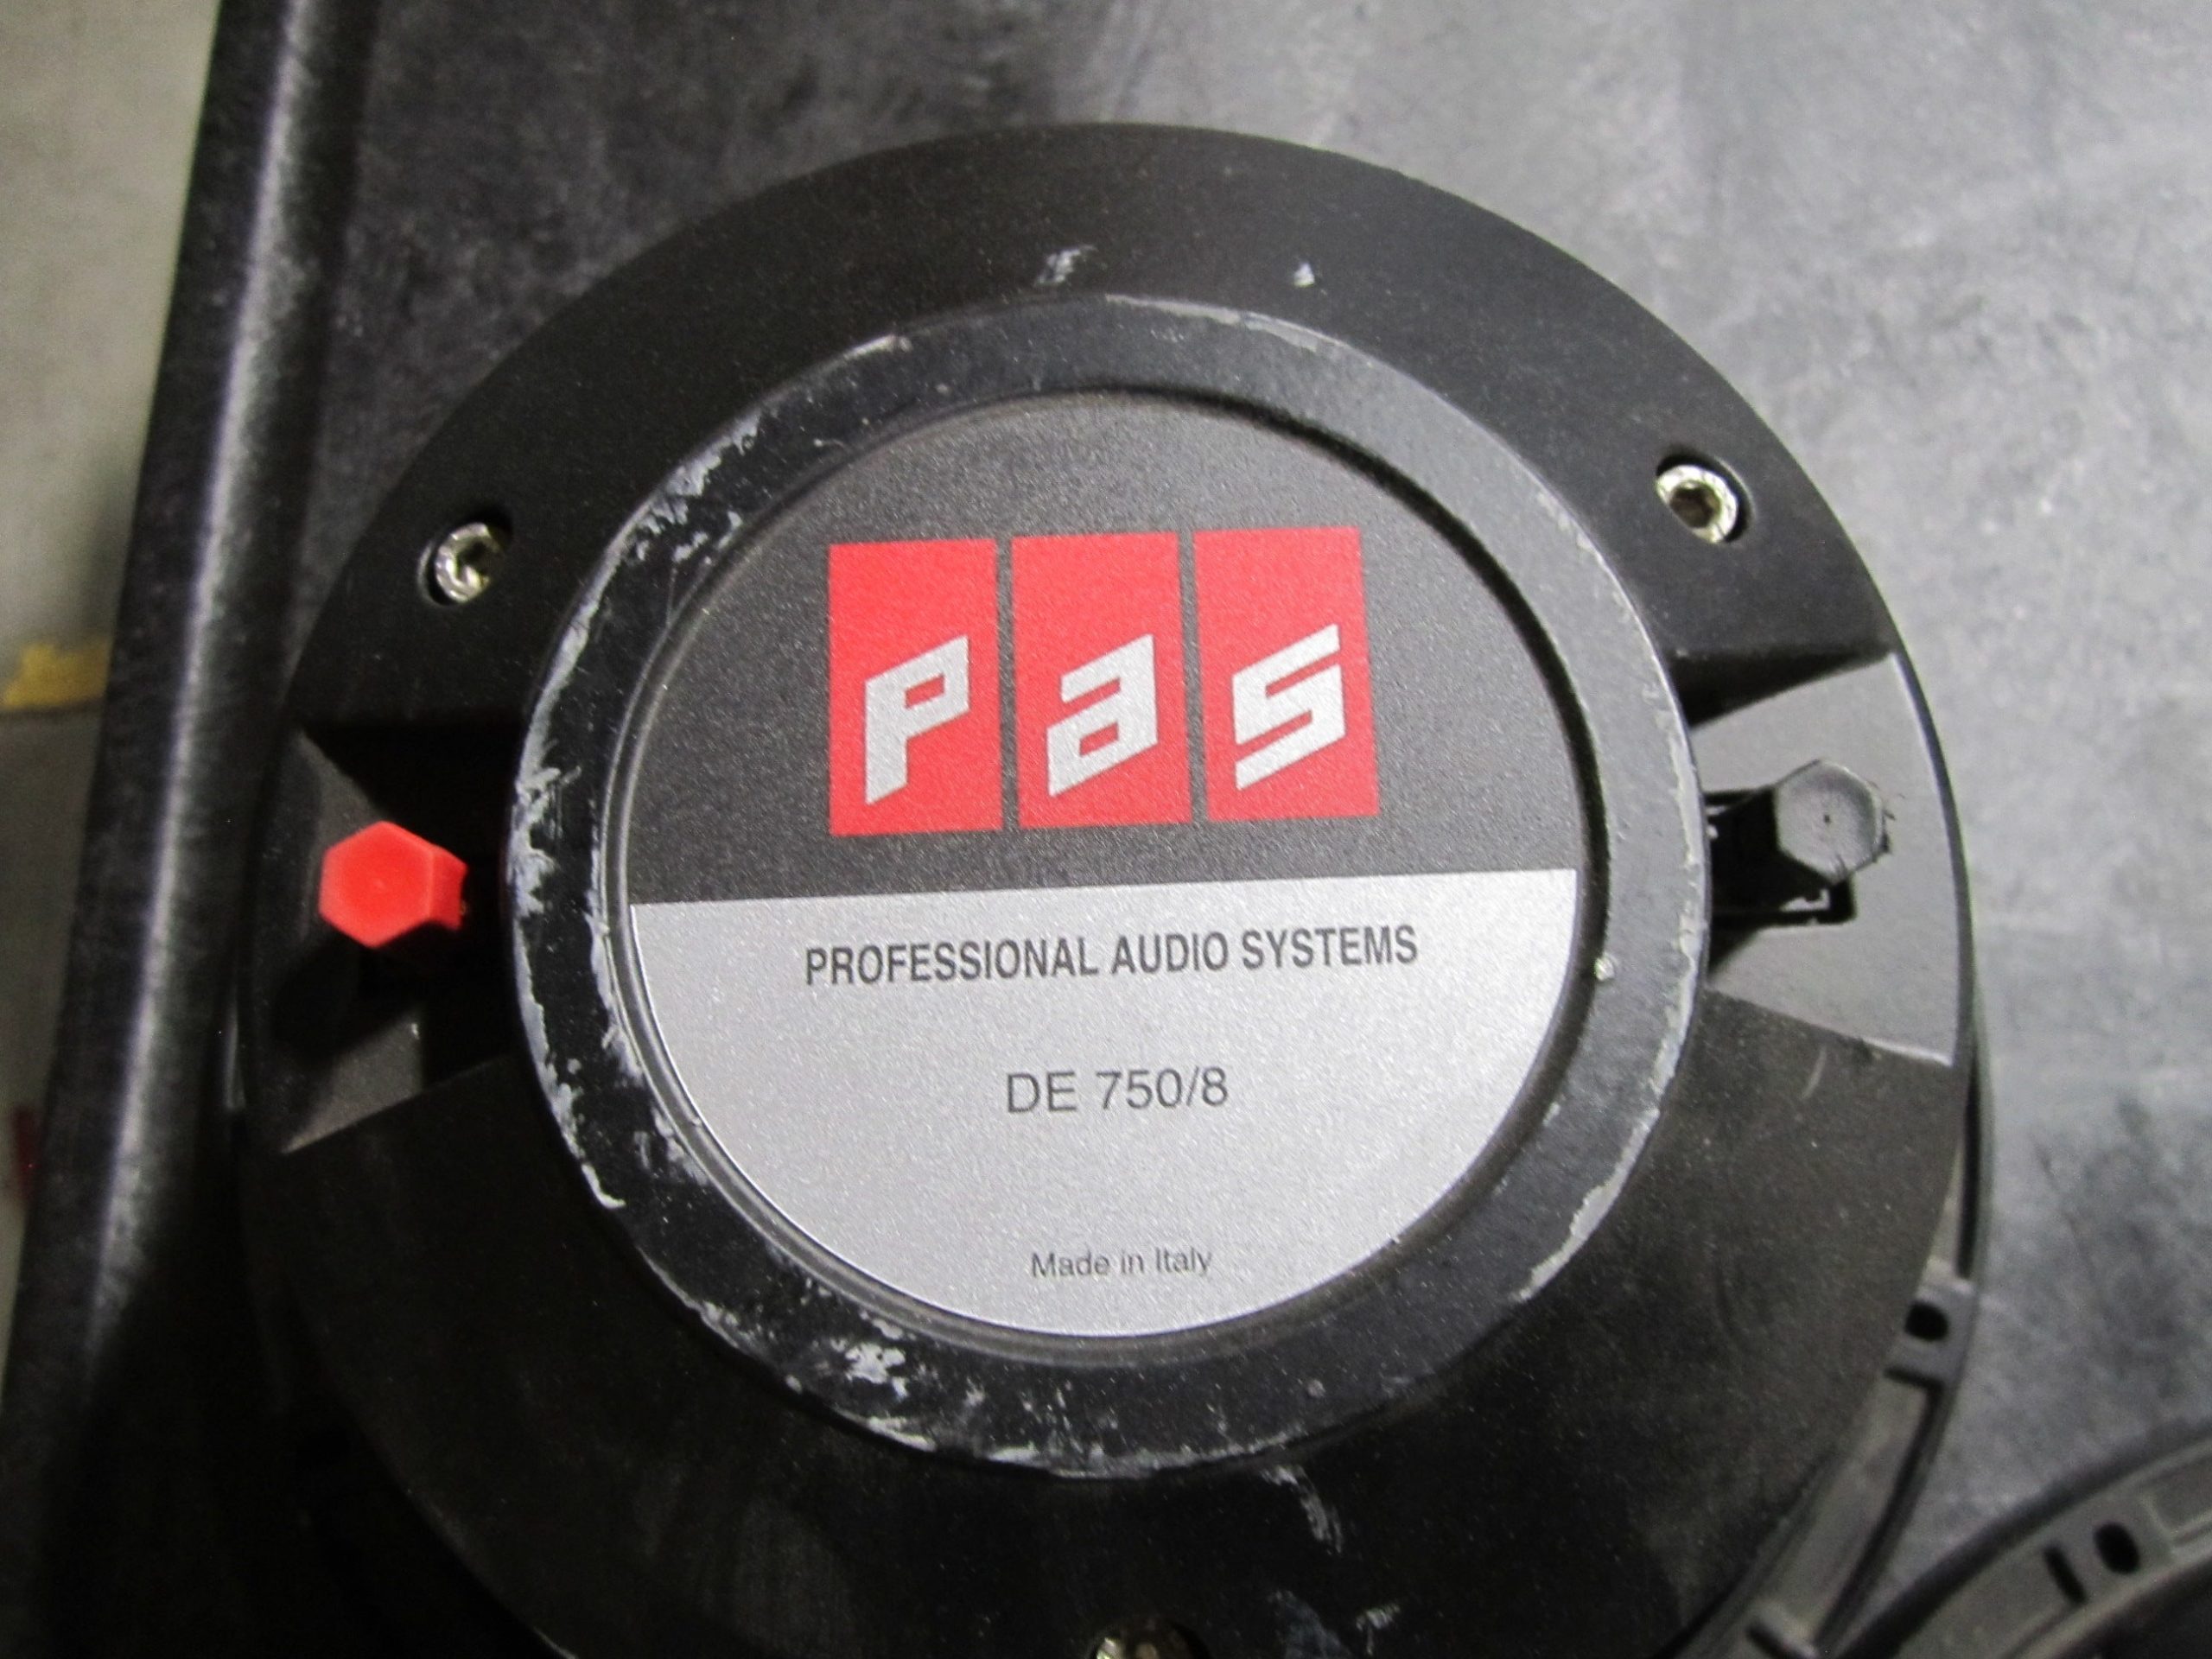
Before applying power, record the loudspeaker’s manufacturer, model, serial number, configuration, and any installed options such as rigging hardware, transformer modules, or input panels. Compare these details with the sales documentation and the buyer’s specification. Photograph the serial plate, cabinet from all sides, connectors, rigging points, grilles, and any visible damage. Clear identification is especially important when several similar units are packed for one shipment.
Inspect the cabinet for cracks, water exposure, swelling, loose panels, repaired joints, and missing fasteners. Check that handles, wheels, pole mounts, rigging points, and protective corners are secure. Examine the grille for deformation and confirm that it does not touch the cone or diaphragm. Signs of moisture, corrosion, insects, or strong smoke odor should be recorded because they may affect reliability during storage and transport. Do not describe cosmetic wear as a technical defect unless testing confirms a functional problem, but document both conditions accurately.
Check drivers, crossover components, and connectors
Remove the grille only when it can be done safely without damaging seals or fasteners. Inspect woofers, midrange drivers, and compression drivers for torn cones, shifted dust caps, rubbing marks, loose leads, overheated voice-coil areas, and hardened or deteriorated surrounds. Gently press a cone evenly with two fingers. Scraping or uneven movement can indicate voice-coil damage, although this check is not a substitute for an electrical test.
Inspect speakON, barrier-strip, terminal, or multipin connectors for bent contacts, looseness, oxidation, and damaged solder joints. Check the polarity markings and internal wiring where access is appropriate. If the speaker has a passive crossover, look for burnt resistors, swollen capacitors, cracked circuit boards, and loose coils. For bi-amped or active systems, identify every input, output, power connector, fuse, amplifier module, and control interface. Record installed components rather than assuming that the configuration matches the original factory specification.
Perform controlled electrical and acoustic tests
Use a suitable multimeter to check continuity and resistance at the input terminals, with the loudspeaker disconnected from any amplifier. The measured value is normally lower than the nominal impedance and varies by design, so compare it with the model’s technical data and with matching units when available. An open circuit, an unstable reading, or a reading that differs substantially from comparable units requires investigation. Never use an insulation or high-voltage test intended for power wiring on a loudspeaker driver.
Connect the unit to an appropriate amplifier with limiters enabled and begin at a low level. Play a full-range signal, then test low, mid, and high frequency bands separately. Listen for rattling, buzzing, intermittent output, distortion, scraping, thermal compression, and imbalance between drivers. A sine sweep or approved loudspeaker test signal can help locate narrow-band problems, but avoid excessive level, especially with compression drivers. Compare left and right or multiple units at the same distance and level. For active loudspeakers, verify power-up behavior, signal input, gain controls, protection indicators, cooling fans, DSP presets, and output without bypassing safety features.
Document results and prepare the export file
Create a test sheet for each unit with identification, date, test equipment, connection method, observed results, defects, accessories, and photographs. State whether testing was visual, electrical, acoustic, or functional; avoid vague terms such as tested good. Note any limitations, such as unavailable mains voltage, incomplete accessories, or testing performed without opening the enclosure. Confirm that the packing method protects cones, grilles, connectors, and rigging hardware. Include the agreed condition description, serial-number list, commercial invoice data, packing list, and any requested handling instructions. UsedAudioHub can use this evidence to align the buyer, warehouse, and freight forwarder before dispatch, but the final documents should reflect the actual tested condition of each unit.